
AI Film Creation: Build a Complete Video From Your Footage
Author
Date published

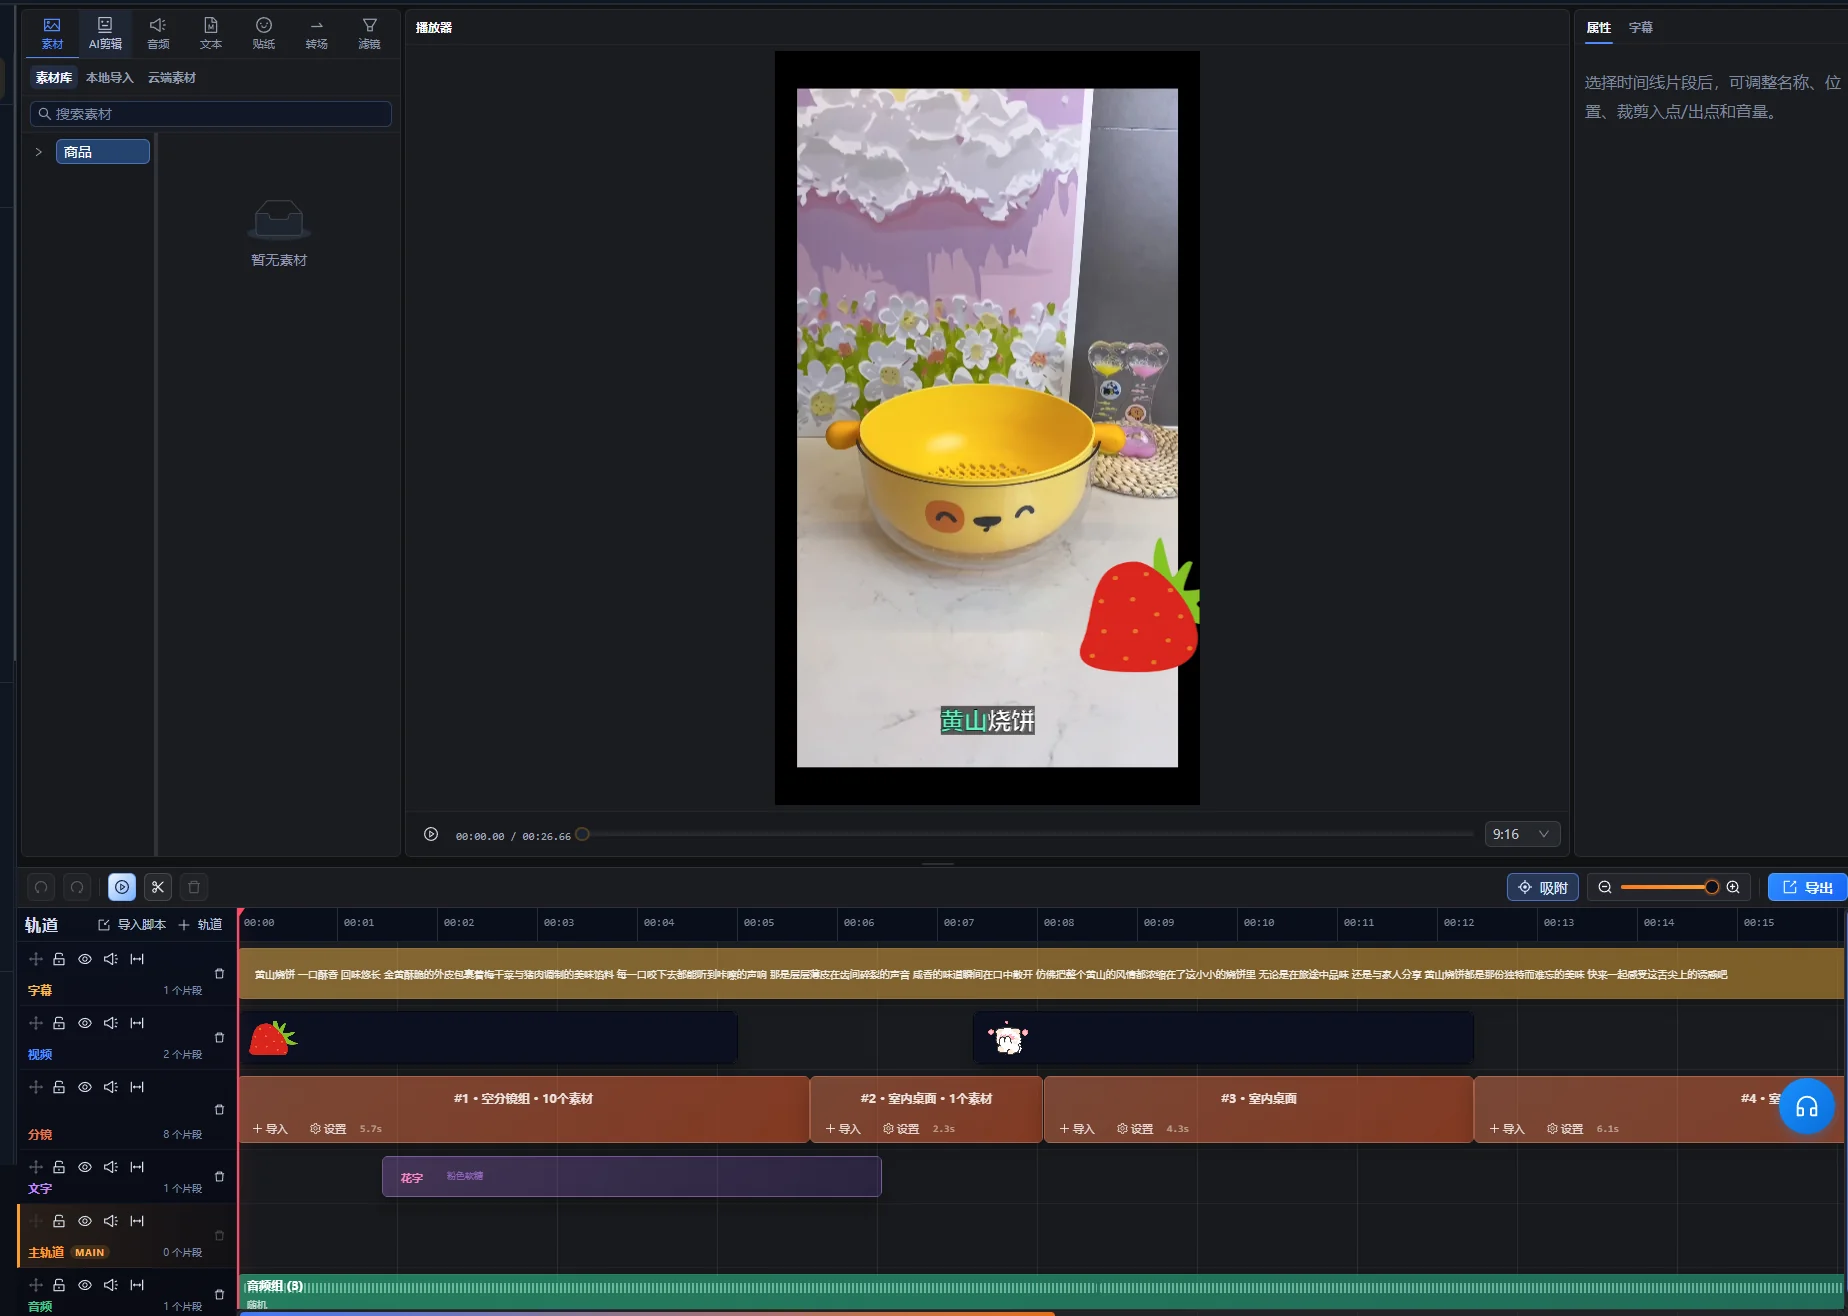
Original promotional cover retained. Its historical speed claims have not been verified by this tutorial and must not be treated as a generation-time benchmark. Labels are in Chinese.
Asset-based AI film creation starts with footage you already have. The workflow uses a script or reference brief to find relevant material in a selected library and arrange an initial edit. Your main job is to supply a clear message, enough visual coverage and constraints that distinguish a suitable shot from a merely similar one. This guide follows a product demonstration from its coverage plan to a reviewed timeline, with a worked example, revision requests and a checklist for deciding whether the exported video is complete.
Key takeaways
- Narration-led creation needs a recognized narration track and selected library shots that have completed AI understanding.
- Reference-video matching is a separate route: it uses detected reference shots to propose replacements from your selected material.
- Review identity, action and timing separately. A related image can still be the wrong demonstration.
- Apply a reviewed preview before continuing; missing footage calls for a coverage decision, not an assumption that the workflow creates new shots.
Understand the input and output of asset-based film creation
This workflow selects and arranges existing assets; it should not be understood as a promise to generate every frame from a text prompt. The film creation overview explains how it fits into the editing workspace.
The narration-led route needs a narration track with recognized speech, selected library shots that have completed AI understanding, and a brief describing the desired order and constraints. A reference-video route is also available, with its own import and matching process. Both depend on the selected material.
The initial output is an edit to review. Footage selection, product identity, shot timing and the connection to narration remain editorial decisions. A match can have the correct subject while showing the wrong action. A finished timeline can also omit a required demonstration because the library never contained it.
Coverage before polish: Find a truthful visual for each important spoken point before adding more music, captions or graphics.
Use this approach when you need help finding and arranging footage around a message. If the structure is already approved and you only need compatible substitutions, the batch editing guide addresses that later stage.
Prepare footage that can demonstrate the script
Check visual coverage sentence by sentence before starting the task. The word “cup” can be supported by many images; the sentence “open the lid with one hand” requires a particular visible action.
Step 1: Write a coverage list
- Identify the product or subject precisely.
- Separate factual points from mood or presentation preferences.
- For each factual point, describe what the viewer must see.
- Locate a usable source range or mark the shot as missing.
- Exclude material that would imply a different product or unsupported capability.
Adobe’s guide to B-roll describes supporting footage that establishes context and adds meaning, and recommends planning it with a shot list. Apply that principle here: a beautiful close-up can introduce the product, but it cannot substitute for an action demonstration.
For narration-led matching, complete AI understanding for the library shots and select the material you want to make available in the workspace. The current implementation restricts that route to understood shots within the user’s selected scope. The asset workflow in the product guide covers library preparation. Play candidates before relying on their names or thumbnails.
Your verification for this step is a coverage list with a real asset for every essential point. If a claim has no supporting shot, decide whether to film it, explain it differently or remove it from this particular video.
Write a brief the resulting edit can be checked against
A reviewable brief says what the video must communicate, which material it may use and what would make the result unacceptable. Presentation preferences help, but they should not replace those concrete requirements.
Step 2: State the message, order and constraints
- Audience: who needs the explanation and what they already know.
- Message: the one conclusion the viewer should understand.
- Sequence: introduction, demonstration and ending.
- Coverage: the required actions or details.
- Identity: the product model, color or other details that must remain consistent.
- Presentation: intended duration, format, narration approach and caption needs.
The following request is illustrative; it is not a recorded assistant response:
Create a short introduction to the white travel cup using the selected library. First establish the whole cup, then show the complete lid-opening action, then show ordinary use at a desk. Match each spoken point to footage of that point. Keep the same cup model throughout. Flag any required shot that the library does not cover so I can decide how to revise the brief.
Review the brief for impossible requirements. If the footage only shows the cup on a table, asking for a walking outdoor scene does not add that scene to the library. “Flag missing coverage” is a request to inspect the task, not a guarantee of an automatic coverage report.
Keep the approved brief with the project. During review, point to an unmet requirement instead of asking for a vague improvement such as “make it better.”
Assemble the first edit from a deliberately selected library
Select the material for this task deliberately. A broad collection can contain near matches from another product, an old shoot or a different setting. Check that the chosen library includes the correct footage and has completed any preparation required for search.
Step 3: Request selection and arrangement
- Open the AI film creation workspace.
- Add the narration track for the approved script and run speech recognition.
- Check the transcript against the spoken content.
- Select the library shots you intend to use and confirm that AI understanding is complete.
- Provide the brief and request footage selection and an initial timeline arrangement.
- Review the proposed preview. Apply it when acceptable, or cancel it before requesting another plan.
- Inspect the resulting timeline before requesting presentation changes.
Use the labels and task controls in your installed version. This guide describes the workflow, rather than asserting that every interface has the same wording. Check availability, task charges and usage limits in the app before starting a larger job.
The current matching route returns a preview proposal first. Do not confuse that proposal with an applied timeline change or an exported video. An existing proposal needs to be applied or cancelled before another is prepared.
Verify the first result against the brief’s sequence. Is the subject established? Is the key action present? Does the ending follow from the demonstration? An edit with the correct number of shots is still incomplete if it lacks the action that explains the product.
Keep an initial version available for comparison while refining the cut. Do not change footage, narration and presentation simultaneously if you need to understand which revision fixed a problem.
Use the separate reference-video route when structure is the input
Reference-video matching starts from a local reference and the material you explicitly selected as potential replacements. The current route detects reference shot changes, describes representative frames and proposes library matches. Review those matches as a plan before applying them.
- Select usable replacement assets in the AI film workspace.
- Import a local reference video through the reference workflow.
- Inspect the reference shots and the proposed replacement for each position.
- Pay particular attention to positions reported as random fallback selections.
- Swap an unsuitable match, add coverage or revise the intended structure.
- Apply or cancel the preview, then continue the normal content review.
The implementation checked on October 10, 2026 accepts a readable video file up to and including 2 GiB (2 × 1024³ bytes), from 2 seconds to 30 minutes long. The interface labels this size as “2 GB.” The reference cannot be the only replacement asset: the matching pool excludes the reference itself. These are reference-import checks, not general limits for every editing or analysis task.
A representative frame shows visible composition but cannot by itself prove a whole action or camera movement. Watch the reference passage and proposed replacement when those details matter. A matching thumbnail is insufficient evidence that both sequences demonstrate the same mechanism.
The reference route retains a reference track in its proposal. Review it alongside the replacements to understand the structure, then verify the actual export content. The narration-led route instead anchors its visual timing to the recognized narration; choose according to the input that defines your project.
Inspect the footage match at three levels
Evaluate a selected shot for identity, action and timing. These checks answer different questions and prevent a plausible image from passing as a complete demonstration.
| Level | Question | Example of a mismatch | Correction |
|---|---|---|---|
| Identity | Is this the intended subject? | A different cup model appears in the close-up. | Select a clip of the correct product. |
| Action | Does the shot show what the line describes? | The narration describes opening the lid while the lid remains closed. | Use the action shot or revise the line. |
| Timing | Can viewers see the necessary part of the action? | The edit cuts away before the lid opens. | Adjust the boundaries or the narration timing. |
Step 4: Review sentence by sentence
Play the narration with each shot. Pause after a sentence and describe what the image actually proves. Then watch the whole passage normally. This catches both factual mismatches and pacing problems that are less obvious when inspecting isolated clips.
A contextual shot does not always need to depict the sentence literally. A desk scene can establish a use situation while the narration introduces the topic. Keep that distinction deliberate: contextual footage sets the scene, while a demonstration must support the claim being made.
For each rejected match, write the reason. “Wrong color” and “action starts too late” lead to different fixes. If the required action is absent from every candidate, move to a coverage decision rather than repeatedly rerunning the same selection request.
Worked example: turn a cup brief into a coverage plan
This example shows an editorial process, not measured software performance. Assume you have four source clips: a whole-cup view, a lid-opening take, a handle close-up and a desk-use scene. None demonstrates temperature retention.
| Script point | Required visual | Available material | Editorial decision |
|---|---|---|---|
| Introduce the cup | The whole product is recognizable. | Whole-cup view | Use it to establish identity. |
| Show how the lid opens | The hand and lid action remain visible. | Lid-opening take | Keep the full action and align it with the line. |
| Show the handle | The relevant shape is clear. | Handle close-up | Use it only for the handle explanation. |
| Show ordinary desk use | The cup appears in that setting. | Desk-use scene | Use it as the closing context. |
| Claim temperature retention | Evidence that supports that specific claim | None in this example | Remove the claim from this demonstration or obtain appropriate evidence. |
Suppose the first arrangement uses the handle close-up during the lid sentence. The subject is correct, but the action match is wrong. A useful revision request is: “Replace the handle close-up under the lid-opening sentence with the opening take. Include the moment before the hand reaches for the lid and keep the action through completion.”
If the opening take is too short for the approved narration, inspect the surrounding source range first. Then choose a relevant supporting shot or shorten the explanation. Do not imply a different mechanism by pairing the line with whichever shot happens to fill the gap.
Resolve missing coverage and refine the timeline
A missing shot requires a content decision. Choose additional footage, a suitable alternative explanation or a revised script. An existing-library workflow cannot demonstrate an action that no available asset shows.
Step 5: Make one revision easy to verify
Describe the affected passage, the observed issue and the change you want. For example: “The second sentence mentions the handle while the timeline shows the whole cup. Use the handle close-up for that sentence, then return to the wider shot.”
Check the change and its neighbors. A replacement can solve the immediate match while creating an abrupt jump in framing, repeated footage or a gap in the next sentence. Use Super Editor for further timeline refinement when a boundary needs precise attention.
Separate essential fixes from stylistic preferences. Correct product identity and missing demonstrations first. Then adjust pacing, transitions and presentation. This keeps you from approving an attractive edit whose central explanation is still inaccurate.
When using a reference video, describe which aspect you want: a question-led opening, a demonstration-first order or a quiet ending. Reproducing the structure does not require carrying over its subject, product claims or unrelated decorative shots.
Finish narration, captions and sound after the content works
Stabilize the spoken sequence before final caption review. Changes to narration order or wording can invalidate text that was correct for an earlier version.
If you need a generated narration track, see voice synthesis. Listen for names, quantities and pronunciation, then review the timing with the demonstrations. Correcting a caption does not correct an inaccurate spoken line.
Use caption generation for the text workflow and proofread the output. W3C’s prerecorded-caption guidance includes the sound information needed to understand the content, beyond dialogue alone. Include an important click or alert when that sound carries meaning in the demonstration.
- Keep captions clear of the action viewers need to see.
- Check line breaks and on-screen time in normal playback.
- Listen to the quietest narration passages with the music enabled.
- Use graphics to explain an actual point, rather than introducing a new claim.
- Check abrupt audio changes at shot boundaries.
Watch once with the sound, then once while focusing on the captioned explanation. Those passes answer different questions about the finished presentation; neither replaces the footage-match review.
Troubleshoot the initial edit with specific corrections
Inspect the relevant input before asking for another complete edit. A missing asset, an ambiguous brief and a poor boundary each need a different correction.
| Observed problem | Possible cause to check | Next action |
|---|---|---|
| The selected shot is related but does not show the action. | The request describes the subject without the necessary action. | Specify the action and inspect available candidates. |
| Another product model appears. | The selected library includes mixed products. | Narrow the usable material and state identity constraints. |
| A required point has no visual. | The library lacks coverage. | Add footage or revise that point. |
| The narration continues after the demonstration ends. | The useful source range is shorter than the line. | Adjust coverage, timing or wording. |
| The same attractive shot appears repeatedly. | Too few suitable alternatives or an underspecified brief. | Review coverage and identify which repeated use should change. |
| Captions describe the earlier script. | The spoken edit changed after text preparation. | Update and proofread the caption sequence. |
A task that cannot find footage is different from an edit that finds footage but uses it incorrectly. Confirm availability and preparation in the library first; then review the request and timeline. These are diagnostic starting points, not claims that every failure has one known cause.
Accept the exported video against the brief
The final acceptance test is whether a viewer can understand the intended message from the exported video, with the correct subject, complete demonstrations and accurate sound and text.
- Play the finished file from start to finish.
- Check each essential script point against its visual coverage.
- Verify product identity and every factual label.
- Listen for clipped speech, mismatched narration and distracting music.
- Inspect captions and important details in the intended viewing format.
- Confirm that the ending resolves the message established at the start.
- Keep the approved brief and source references with the final version.
Choose delivery settings according to the destination. For YouTube, its upload encoding guidance recommends retaining the recorded frame rate and provides container and codec guidance. Check which options your export workflow offers; this article does not promise a specific encoder configuration.
Begin your next project with the coverage plan, not the decorative finish. One fully supported script is a better foundation for later variations than an elaborate edit with unresolved footage gaps.
Editorial basis: AIMIX Editorial Team prepared this guide using the current client workflow and linked primary documentation. The cup brief, coverage table and revision requests are constructed examples. No end-to-end client test, timing benchmark or customer result is represented.
Frequently asked questions
Can I start with a reference video instead of narration?
Yes, through the separate reference-video matching route. Select replacement assets, import the local reference and review the proposed shot matches before applying the plan. A reference helps define structure; it does not supply missing replacement footage.
Does the workflow generate all the required shots?
This guide covers matching and arranging existing library assets. If a required action is absent, add footage, choose a truthful alternative explanation or change the script. Do not assume that a new request will create the missing demonstration.
Should I use the whole library for every project?
Select material deliberately and verify the correct products and scenes are included. A mixed collection can contain near matches from unrelated tasks. Clear identity constraints and a coverage list help you inspect the selection.
Can I change the initial timeline manually?
Yes. Review the selected footage and continue refining the sequence, boundaries, narration and captions in the editing workspace. Check the exported file after making the revisions.